

Setting Up Email Account On Your iPhone
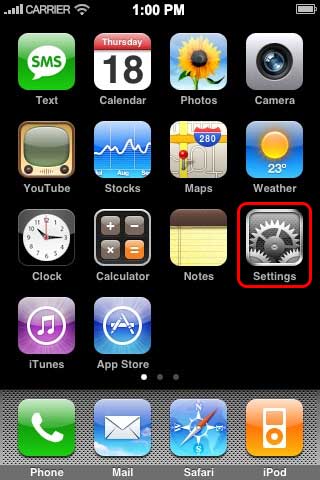 |
Hit the settings icon on the home menu. |
 |
Scroll down to find the "Mail, Contact, and Calendar" settings button and tap it. |
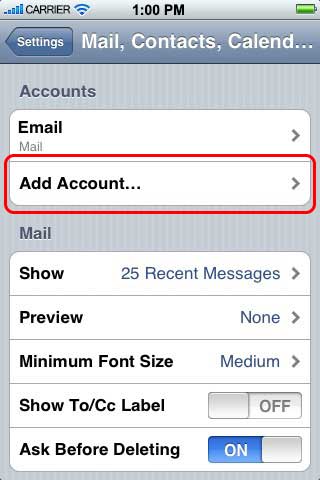 |
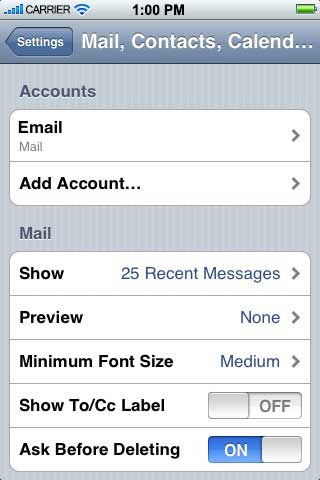
Next you see the accounts page. Here we see this user has already added an account. You may see other options here, such as "Fetch New Data". But don't worry about the settings on the lower half for now. Tap on the "Add Account" option. |
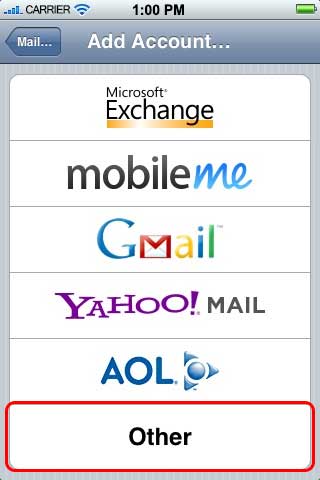 |
Here you can set up the type of account you want to add. Tap on the Other option. |
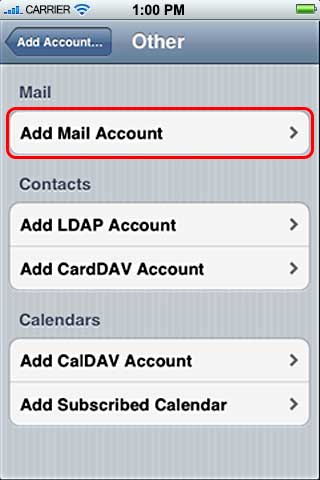 |
You might see this screen next, or you might see the next screen, depending on your version of the iPhone OS. Skip ahead as needed. If you see this screen, tap "Add Email Account". |
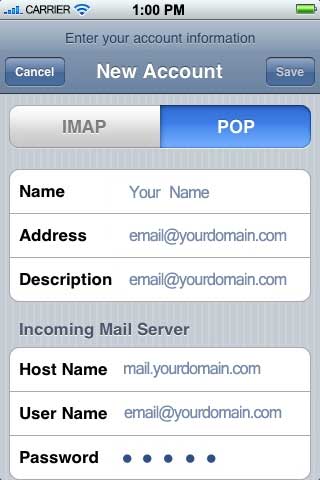 |
We want to set up a POP3 account, called POP on the iPhone. Make sure you select POP by tapping on it. Fill out all the information on this settings page. Name: This is the name that people will see when they receive an email from you. Type in your name here. Address: Your full email address (you@yourdomain.com). Description: This will be the description you see on the phone in the Accounts menu. Most people put their email address for this option so that they can quickly access their different accounts. Type your email address here (recommended). Depending on your iOS version, you may have to tap SAVE or NEXT here. Once you do, the iPhone will "look up the account" and you will see the rest of the information needed below. Host Name: Your domain mailserver, which will always be mail.yourdomain.com User Name: Your full email address (you@yourdomain.com). Password: The password you selected (or was assigned to you) when your email account was set up. Tap SAVE or NEXT. |
 Webbie says: Let's stop for a moment to go over something important. You should NOT be typing in "you@yourdomain" or "mail.yourdomain.com" exactly as shown. You must substitute your own domain name in place of yourdomain. Got it? Good. Moving on. Webbie says: Let's stop for a moment to go over something important. You should NOT be typing in "you@yourdomain" or "mail.yourdomain.com" exactly as shown. You must substitute your own domain name in place of yourdomain. Got it? Good. Moving on. |
|
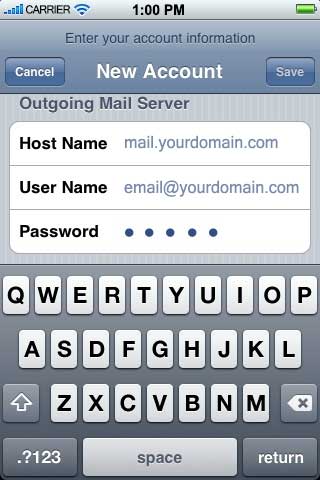 |
Outgoing Mail Server Settings Host Name: Your domain mailserver (same as above), which will always be mail.yourdomain.com. User Name: Your full email address (you@yourdomain.com). Password: The password you selected (or was assigned to you) when your email account was set up. Tap SAVE or NEXT. |
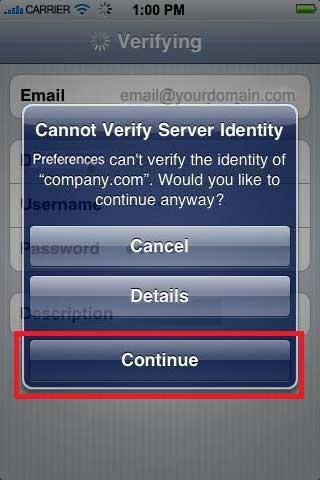 |
You may see this screen, which is saying that the certificate on the server is not recognized as safe. Despite this draconian warning, it is perfectly safe to use our self-signed server certificate. If you want to see the certificate, or download it to your phone, tap details and when prompted hit "Accept". Otherwise, tap "Continue" (recommended). |
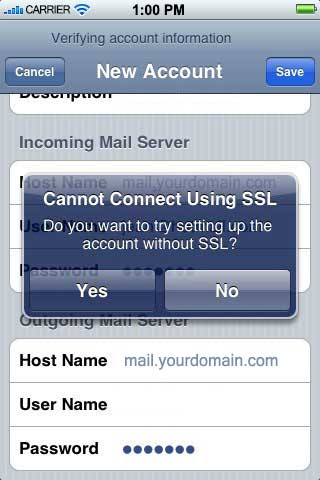 |
If you see this message and do not want to connect using SSL, tap YES. It is recommended that you check your mail over a secure connection, however, so you should tap NO here. If you do tap NO, you might see a message telling you that this account may not be able to receive mail. Tap "Continue". |
 |
If all went well, and the account was created successfully, you should be back at the "Mail, Contacts, Calendars" screen. And you should see your newly created email account in the "Accounts" list. Tap your new email account and let's set up some Advanced Options. |
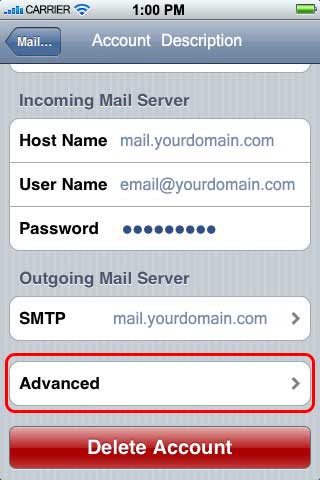 |
Scroll down and tap the "Advanced" option. |
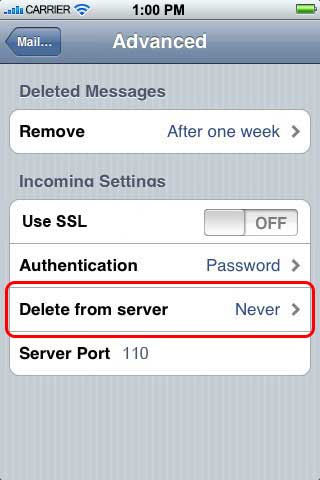 |
If you want your email to be available for both your phone AND your home or office PC, make sure the "Delete from server" option is set to "Never". This will allow you to download and read your email, but keep it on the server so that you can also get it on your office or home computer. While your are on this screen: Make sure "Authentication" is set to "Password". Note that if SSL is turned ON, your server port should be 995. |
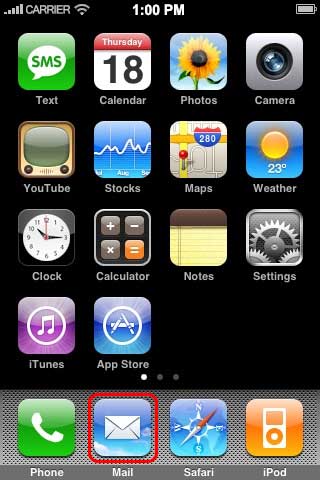 |
Testing your set up Tap the "Home" button and then tap the Mail icon on your home screen (or wherever you have it stored). |
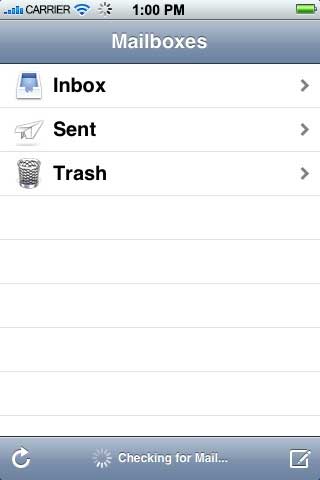 |
Mail automatically downloads your email to your phone. You should see your mail rolling in! That's it. Repeat this tutorial for other email accounts you have. |
Troubleshooting

If you find that your set up is not working, make sure you went through each of the steps above, and that your hostname or server setting is spelled correctly. A typo in mail.yourname.com can cause your phone to fail to find our email server. Use the table below to check your settings on the email account. You must have the right port for the right service or else mail send/receive will fail. Be sure if you have SSL turned on you double check your port settings. Sometimes the iPhone can automatically set up your email account as an IMAP account, even if you chose POP. That's fine, you can use IMAP, but you must adjust your port or else the iPhone will look for an IMAP connection over a POP port number, and the server will reject the connection. See below for information about ISPs that block mail port 25 and our solution. |
|
|
||||||||||||||||||||
|
|||||||||||||||||||||
* Some ISPs block certain ports to protect their network against spammers. Most now block emails over port 25 unless they are being delivered to their own servers. If you are setting up email over port 25 and it is not working, try port 26. We run a second server on port 26 just in case your ISP is blocking 25.
** For outgoing mail, you should have SMTP authentication authentication enabled to be able to send mail.